5-Minute Pasta Recipe: Quick, Baby-Friendly & Spinach-Infused!
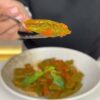
Looking for a quick pasta recipe that not only satisfies your taste buds but also packs a nutritional punch? Dive into our 5-minute pasta – a baby-friendly pasta that stars spinach, offering a variety of health benefits.
Who doesn't love chocolate cake? I don't think there is anyone who doesn't like it very much. Because I've never seen anything with chocolate in it tasteless. Just like this legendary cake is extremely delicious. Here it is with its fluffy cake, fluid chocolate and delicious cream; Chocolate Waterfall Cake Slice!
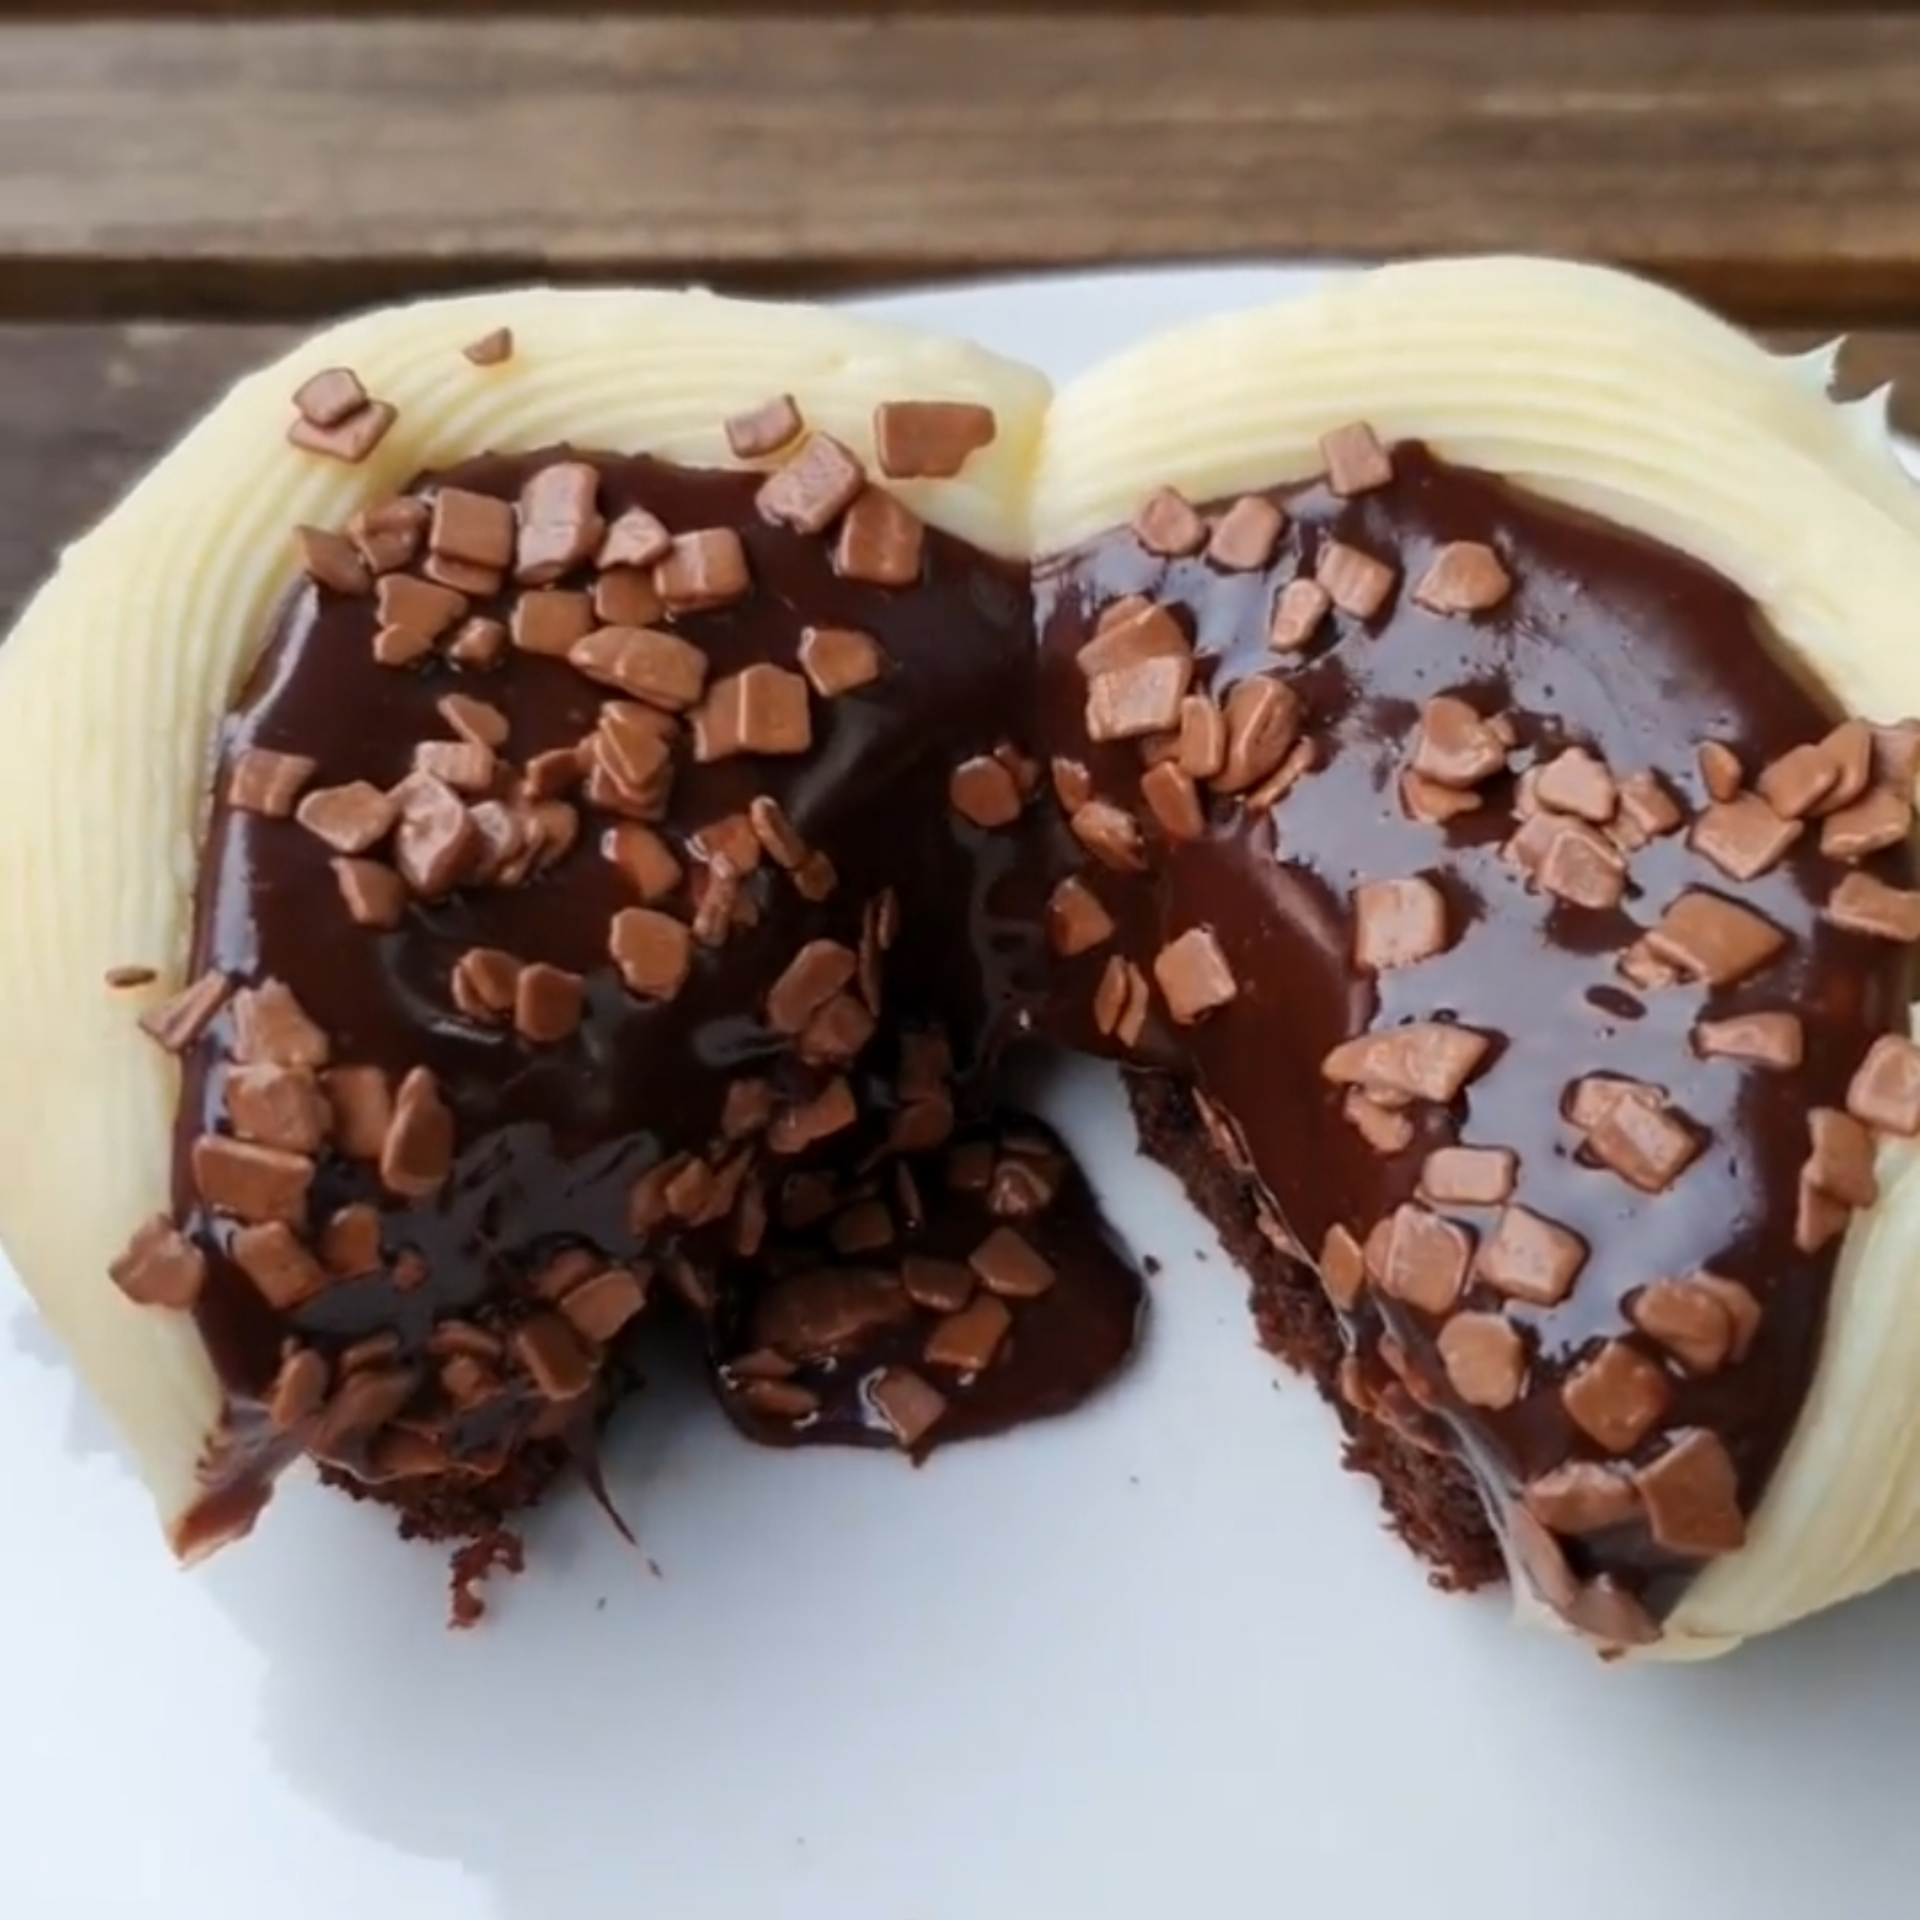
Chocolate Waterfall Cake Slice
Who doesn't love chocolate cake? I don't think there is anyone who doesn't like it very much. Because I've never seen anything with chocolate in it tasteless. Just like this legendary cake is extremely delicious. Here it is with its fluffy cake, fluid chocolate and delicious cream; Chocolate Waterfall Cake Slice!
In this recipe, we first prepare the cake. Here, our biggest helper will be the stand mixer. Because with almost no effort, it will mix the ingredients for us better than we do and get the cake ready for baking. While the cake is baking, we will prepare the cream. With the ingredients it contains, you will have a taste far superior to the classic cake creams. Then there is the cocoa cake and the chocolate sauce is missing? We don't think so! That's why we're going to double the flavor of the cake by preparing a practical chocolate sauce on it.
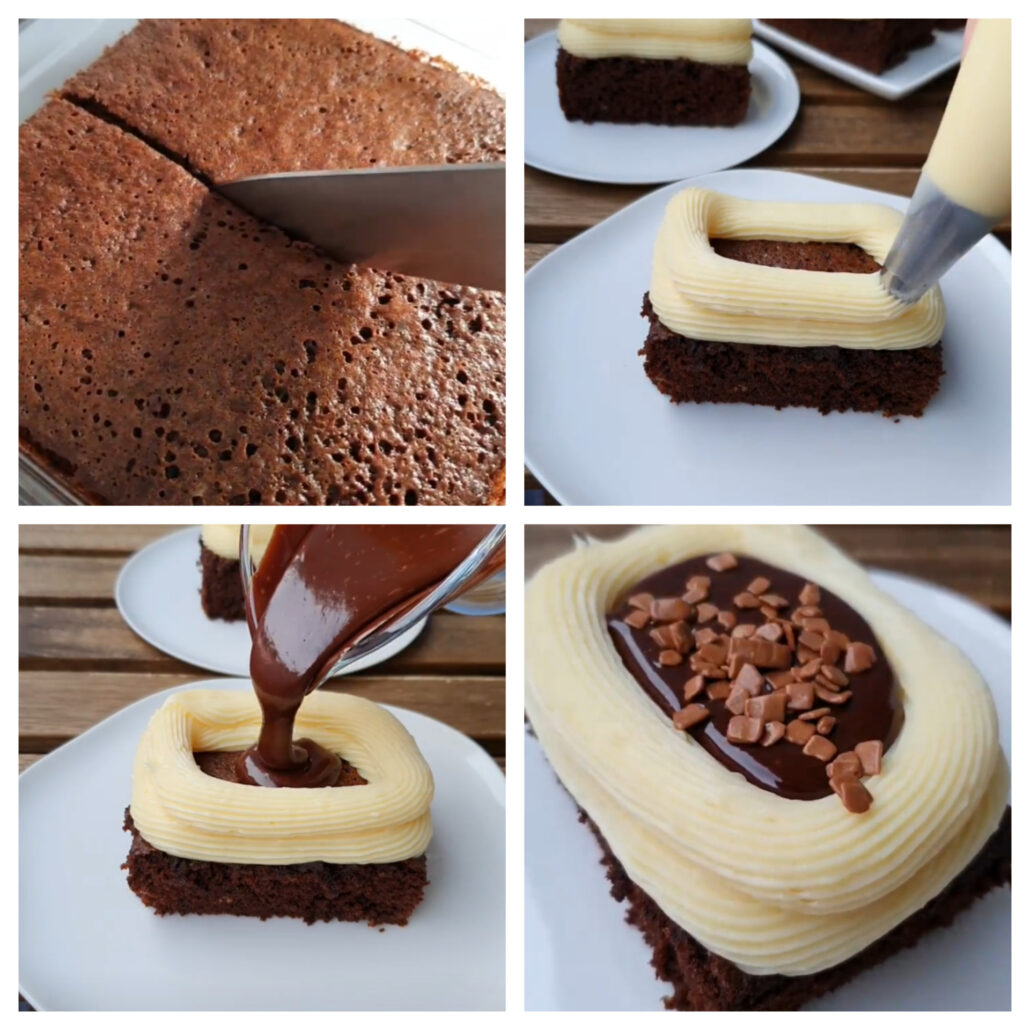
The most important feature that distinguishes this cake from the others is undoubtedly the way it is served. We cut the cake into baton slices, but in the classical way we do not pour the cream on it and the chocolate sauce on top. We cover the edges of the cake slice with cream in two layers like a frame. We pour a lot of chocolate sauce into the empty middle part. To show how chocolatey it is, we cut the slice in half and you witness the chocolate sauce scattering around.
Sounds very good. It creates a visual feast not only for the palate, but also for the eyes.
If you're undecided about getting a Stand Mixer, we've put together a review guide to help you out. We've reviewed all aspects of the 5 best-selling Stand Mixer models on Amazon. Check out all the details about which Stand Mixer model is more appropriate for you Stand Mixer Buying Guide
Chocolate Waterfall Cake Slice Ingredients
Instructions
Beat 3 eggs and a glass granulated sugar with a stand mixer. The stand mixer ensures that the ingredients are mixed more evenly by increasing the flavor doubly. At the same time, you do not need to spend effort as it mixes it for you. Add half a tea glass of oil and half a tea glass of warm water to the egg and sugar mixture and whisk again with a stand mixer. We're done with the mixer now.
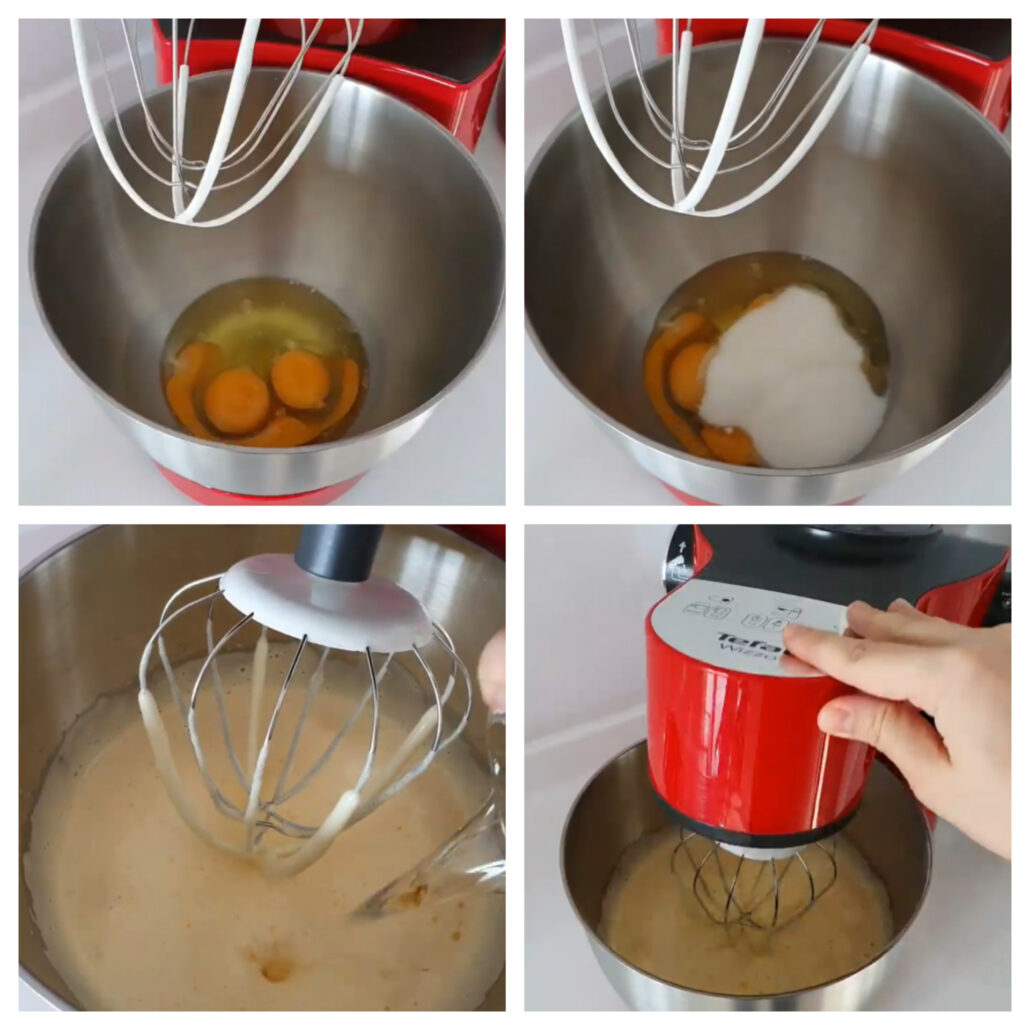
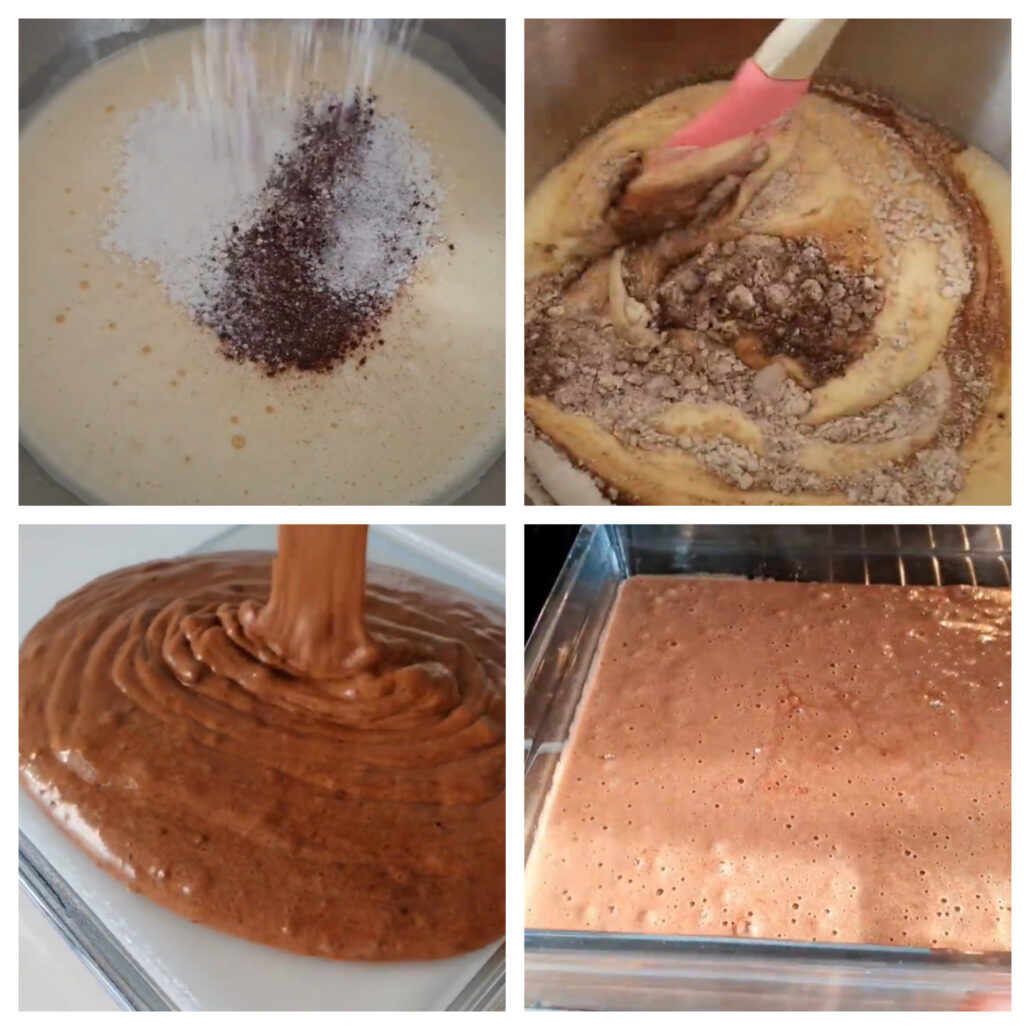
Add 2 tablespoons cocoa, a pack baking powder and a pack vanilla and this time we mix it with the help of a spatula. Our cake mix is ready. To cook the mixture, transfer it to a glass tray and bake in a preheated 180 °C / 355 °F oven for 20-25 minutes. You can control the time according to the cooking degree of your own oven.
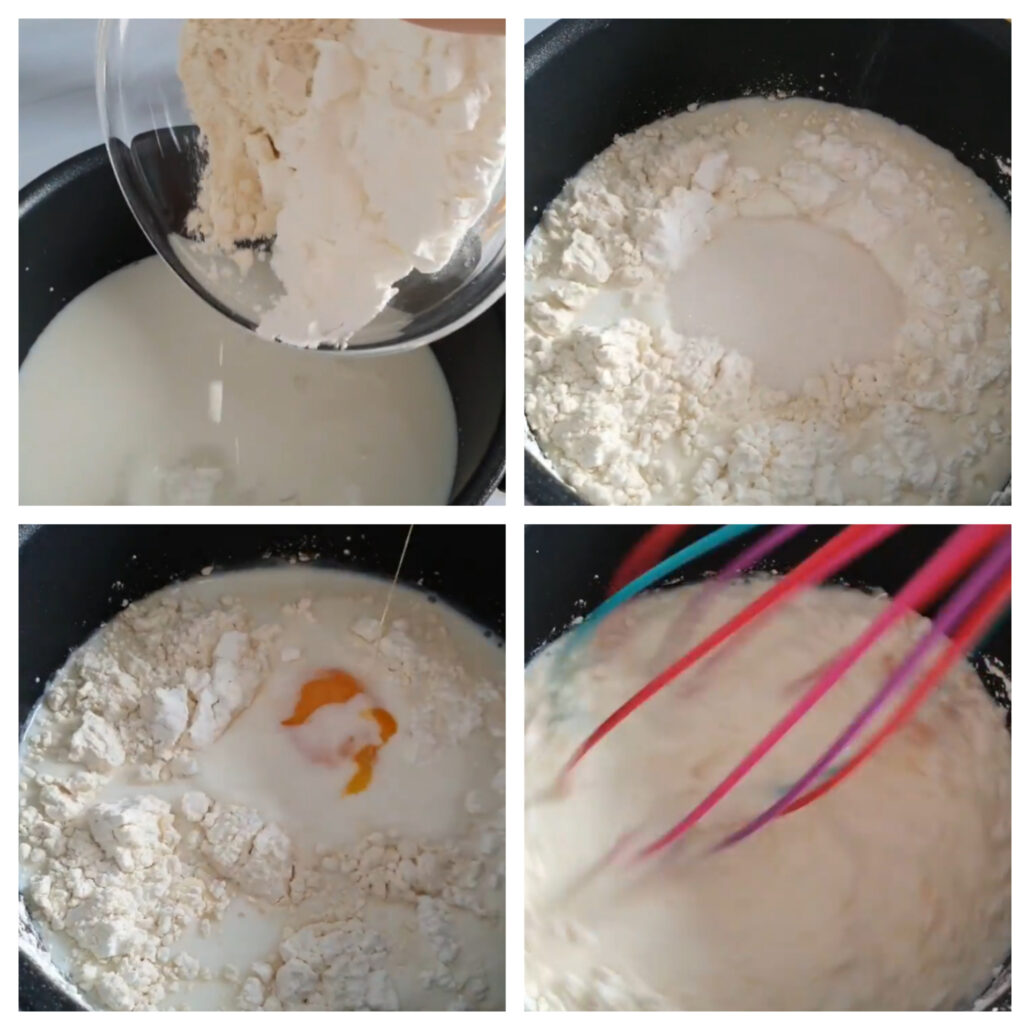
Add 2 glasses milk, 2 tablespoons starch, 2 tablespoons flour, half a glass granulated sugar, an egg yolk to the pot and cook, stirring constantly.
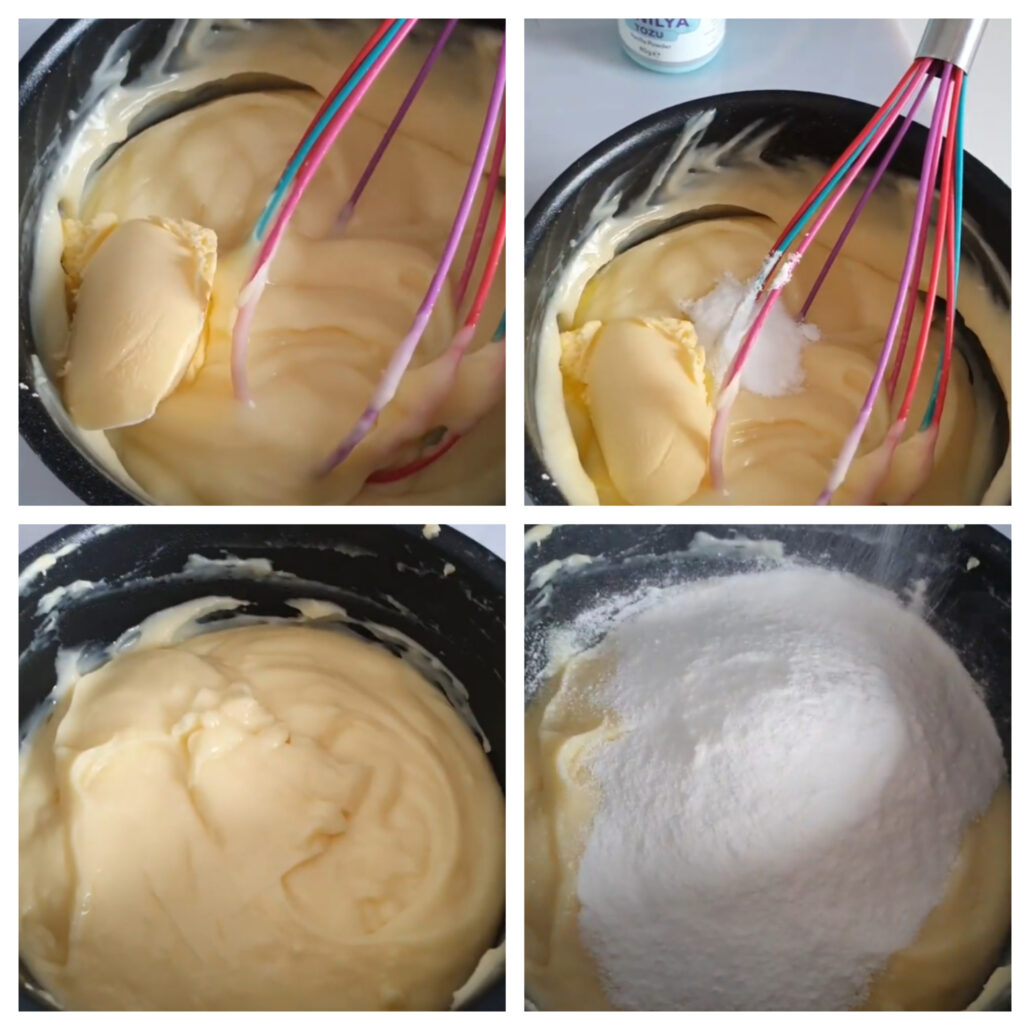
Remove from the stove after cooking. Add a tablespoon of butter and a packet of vanilla. Allow it to melt by mixing it at its own temperature. Then add a pack whipped cream to the mixture. Put the cream in the refrigerator to cool.
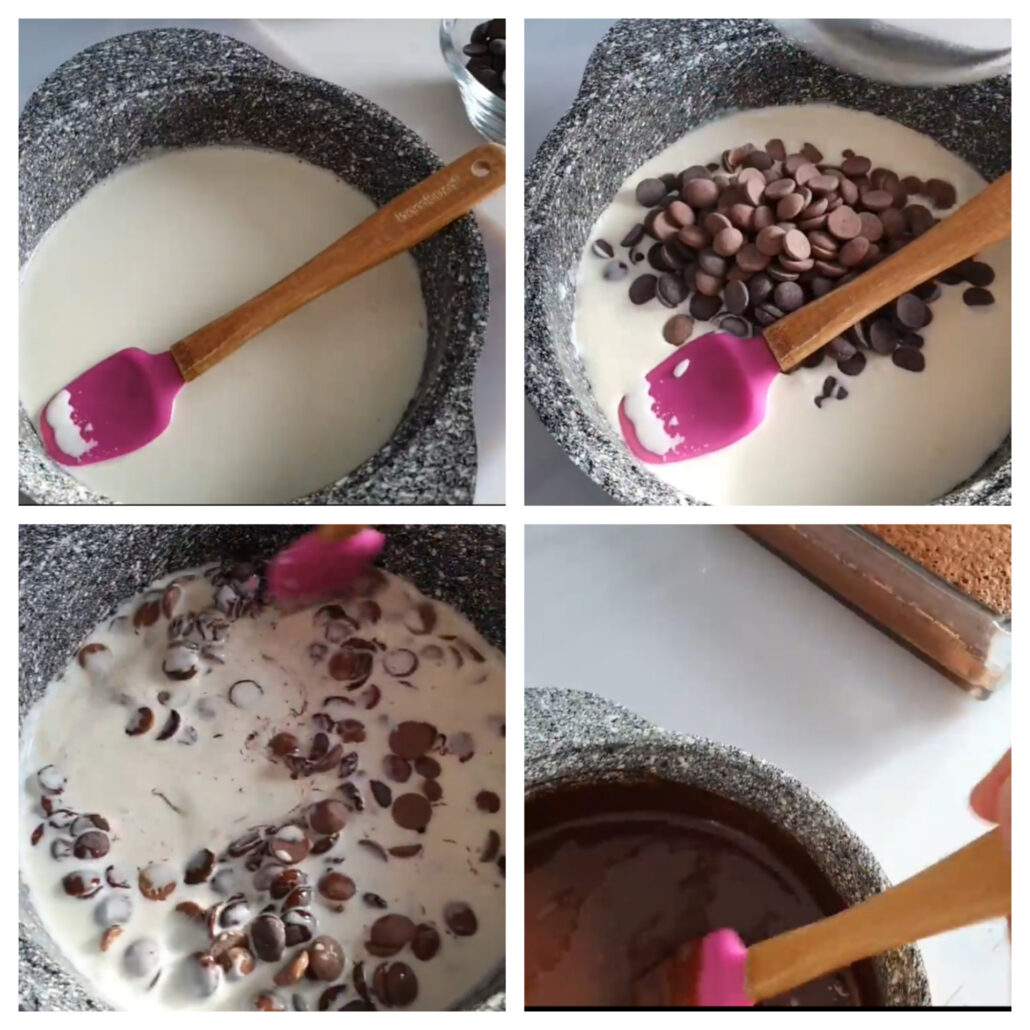
Heat the cream and add the chocolate chips. Stir so that the chocolate melts. Thus, you will get a liquid chocolate sauce.
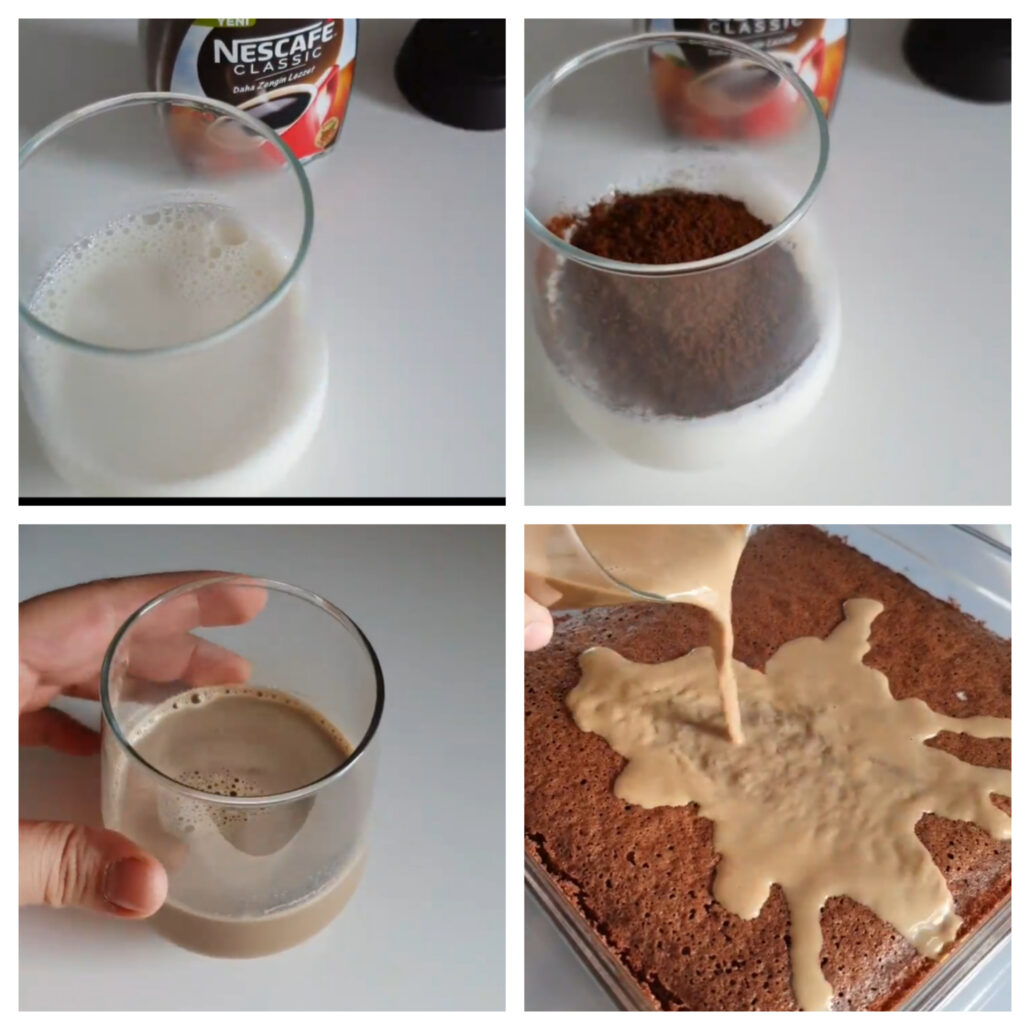
Remove the cake from the oven. Since we put little flour, the cake was evenly distributed on the tray and baked evenly. To soften the cake, mix a cup hot milk with a tablespoon coffee. Pour this coffee-milk mixture evenly over the cake.
After processing the milk into the cake, cut the cake into baton slices. You will feel its softness while cutting, so you have to be careful while cutting. Place the cream in the piping bag and frame it in two layers around the baton cake slices. Do not forget to leave a space in the middle of the cake. Pour the chocolate sauce into the empty part in the middle and add chocolate chips on it.
Ingredients
Directions
Beat 3 eggs and a glass granulated sugar with a stand mixer. The stand mixer ensures that the ingredients are mixed more evenly by increasing the flavor doubly. At the same time, you do not need to spend effort as it mixes it for you. Add half a tea glass of oil and half a tea glass of warm water to the egg and sugar mixture and whisk again with a stand mixer. We're done with the mixer now.

Add 2 tablespoons cocoa, a pack baking powder and a pack vanilla and this time we mix it with the help of a spatula. Our cake mix is ready. To cook the mixture, transfer it to a glass tray and bake in a preheated 180 °C / 355 °F oven for 20-25 minutes. You can control the time according to the cooking degree of your own oven.

Add 2 glasses milk, 2 tablespoons starch, 2 tablespoons flour, half a glass granulated sugar, an egg yolk to the pot and cook, stirring constantly.

Remove from the stove after cooking. Add a tablespoon of butter and a packet of vanilla. Allow it to melt by mixing it at its own temperature. Then add a pack whipped cream to the mixture. Put the cream in the refrigerator to cool.

Heat the cream and add the chocolate chips. Stir so that the chocolate melts. Thus, you will get a liquid chocolate sauce.

Remove the cake from the oven. Since we put little flour, the cake was evenly distributed on the tray and baked evenly. To soften the cake, mix a cup hot milk with a tablespoon coffee. Pour this coffee-milk mixture evenly over the cake.

After processing the milk into the cake, cut the cake into baton slices. You will feel its softness while cutting, so you have to be careful while cutting. Place the cream in the piping bag and frame it in two layers around the baton cake slices. Do not forget to leave a space in the middle of the cake. Pour the chocolate sauce into the empty part in the middle and add chocolate chips on it.

Notes
Recipe Source: pacikanin_mutfagi


Leave a Reply