5-Minute Pasta Recipe: Quick, Baby-Friendly & Spinach-Infused!
Looking for a quick pasta recipe that not only satisfies your taste buds but also packs a nutritional punch? Dive into our 5-minute pasta – a baby-friendly pasta that stars spinach, offering a variety of health benefits.
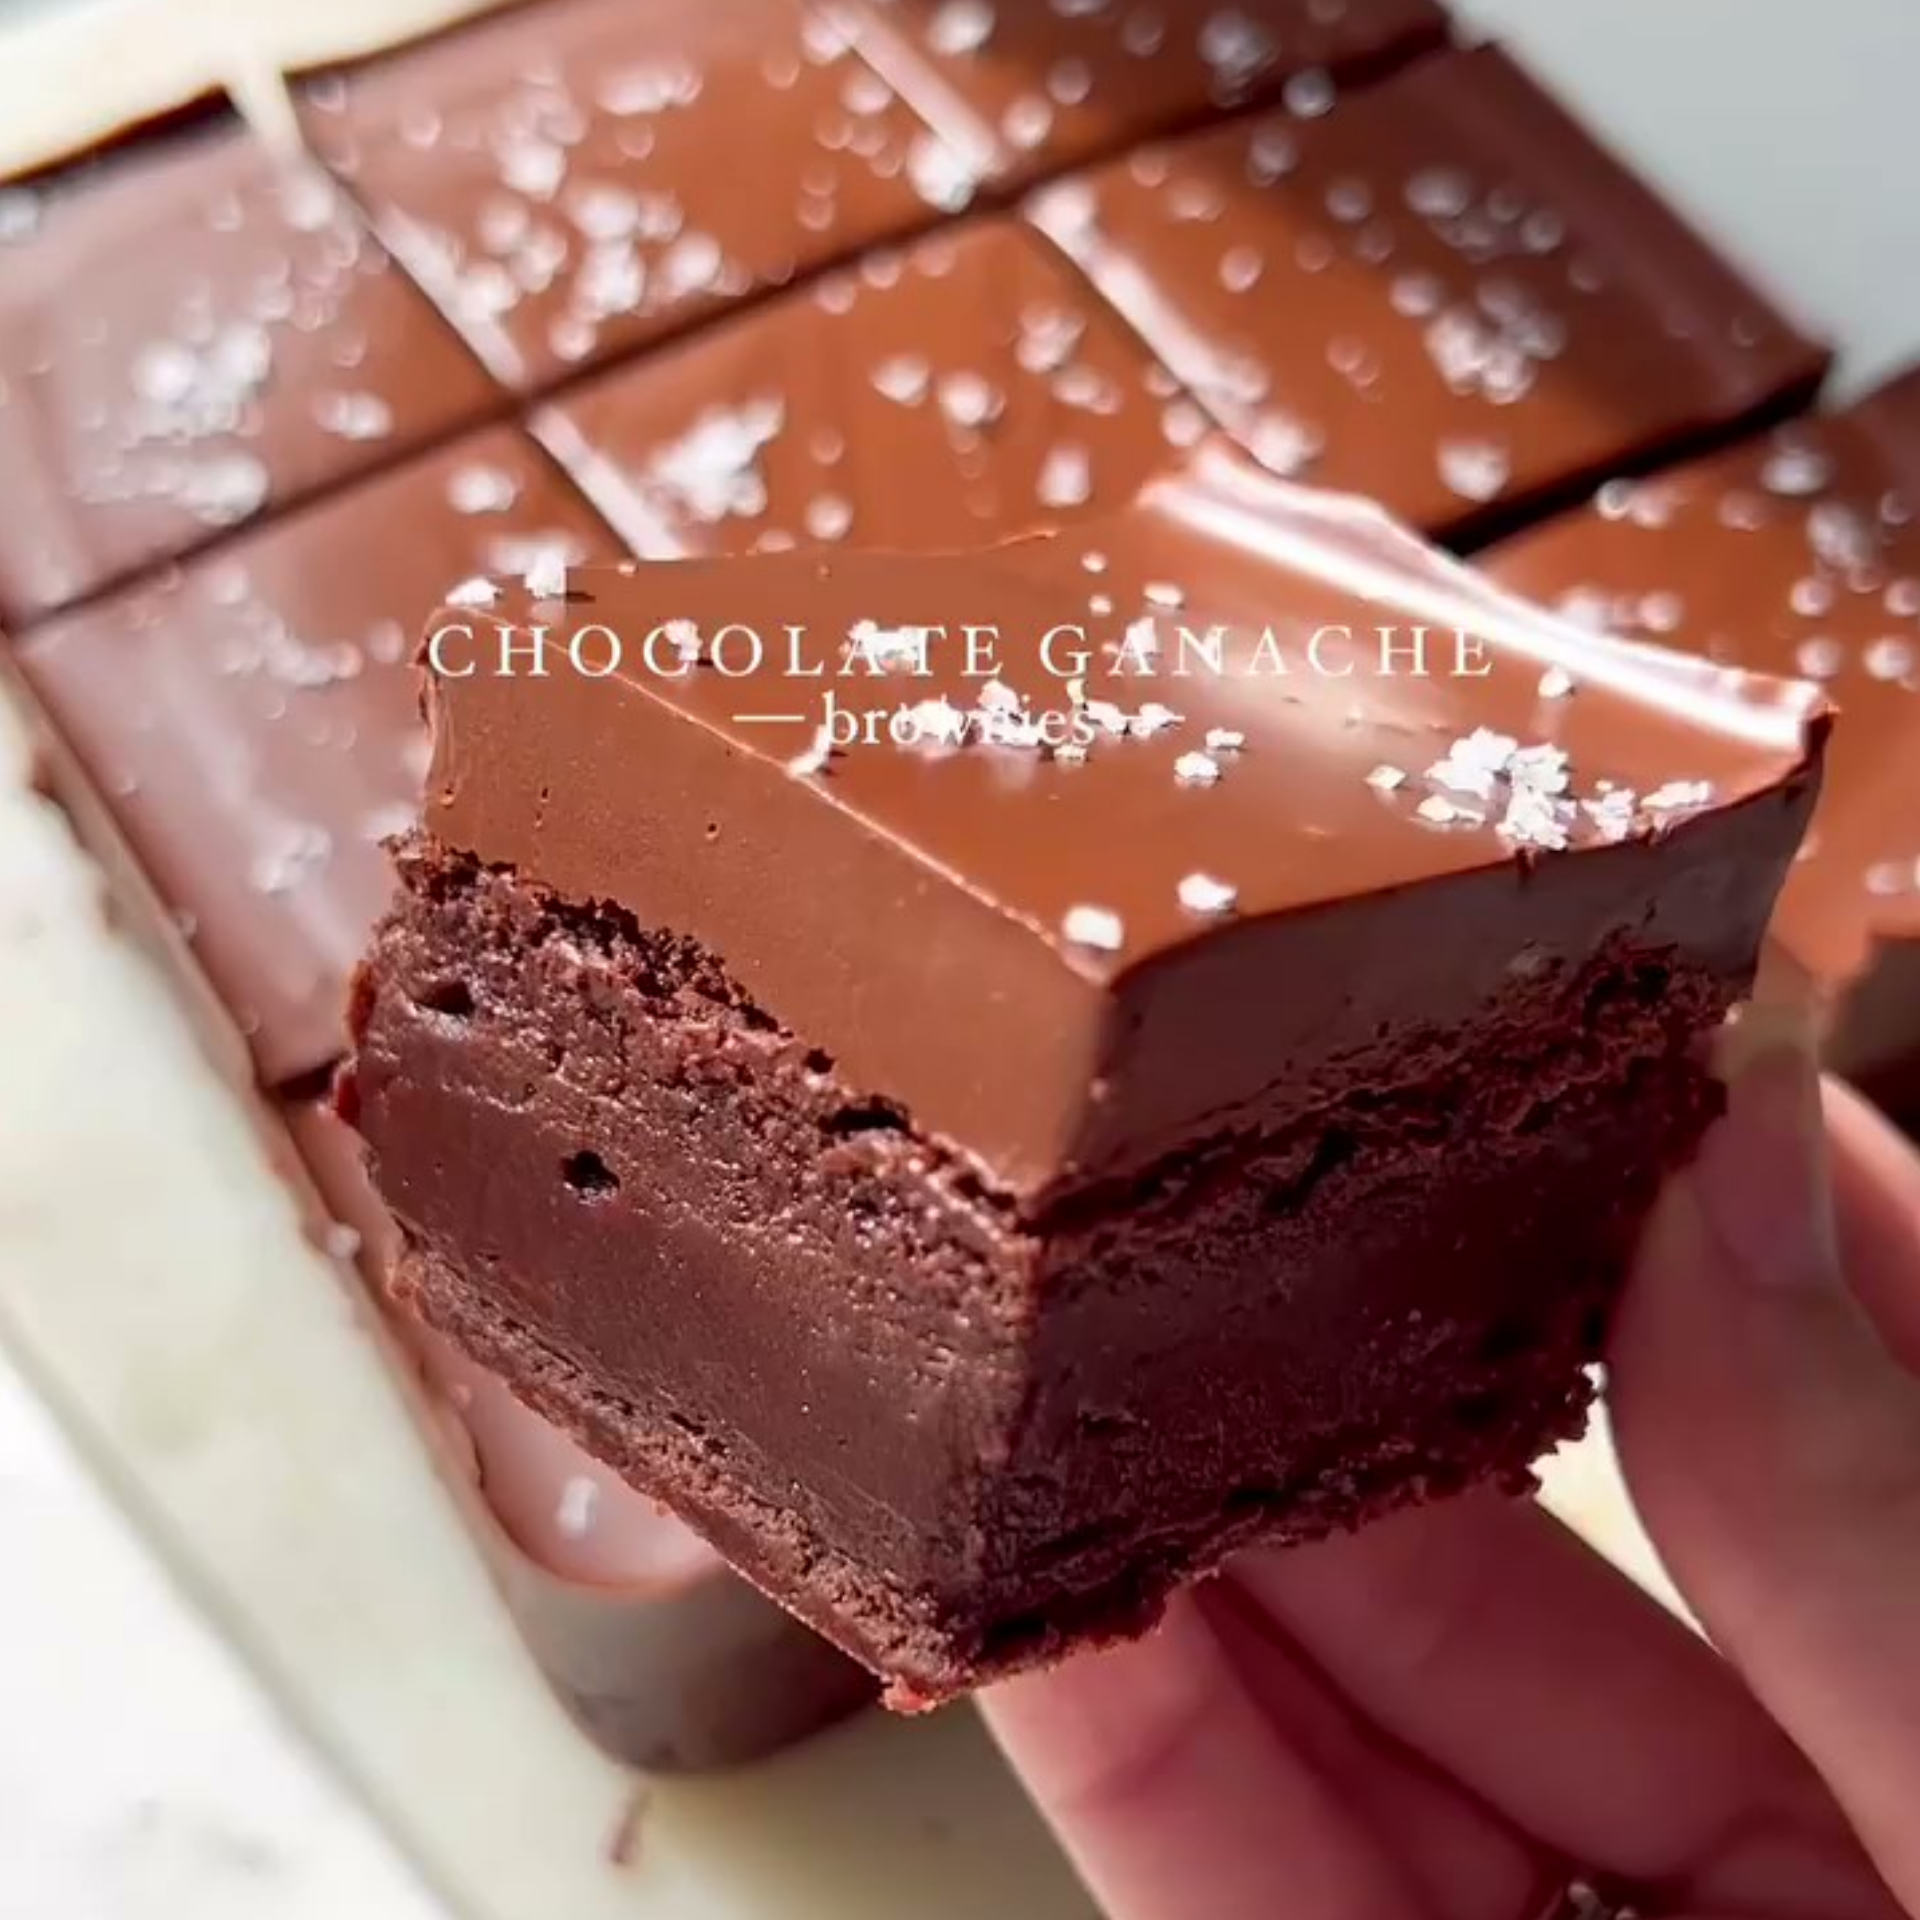
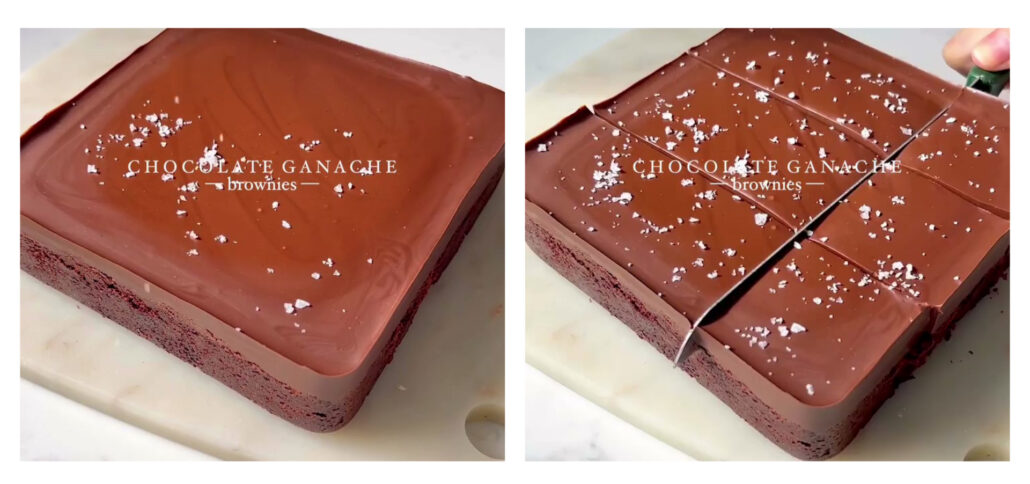
The recipe that will decorate your dreams not only with its taste but also with its appearance; Chocolate Ganache Brownies!
Chocolate Ganache Brownies
The recipe that will decorate your dreams not only with its taste but also with its appearance; Chocolate Ganache Brownies!
It impresses with the rich chocolate cream in the cake slice and its crunchy coating. It is filled with chocolate peanut ganache which makes these cakes even more delicious and special. The cake is always baked in every home because it is simple to cook and contains few ingredients. While the cake is delicious even in its simplest form, think once again how delicious it is when combined with its completely natural ingredients.
Chocolate peanut ganache topping is optional. You can just make the cake and not prepare the ganache. However, if you like the pistachio/chocolate combination, you'll love this topping! If you don't like peanuts but want ganache, try a coconut milk and chocolate mix instead.
The only ingredient that really matters for this recipe is a baking tray with a removable bottom. You can achieve an ideal height for your brownies by using a small 15cm square baking tray to make this recipe.
Chocolate Ganache Brownies Ingredients
Instructions
Preheat the oven to 180°C / 356°F. Line your baking tray with parchment paper and grease the edges with a little butter. For this recipe, it's fine to use a small 15cm baking tray with a removable bottom. If your baking tray is larger, the cake slices will be thinner. If your tray is large, you can obtain the ideal thickness of cake by balancing the amount of ingredients.
Melt the butter in a saucepan over low heat. Once butter is melted, add the milk, sugar and vanilla extract and mix. Then add 150 g chocolate. Remove from heat and continue stirring until the chocolate is completely melted.
Mix flour, cocoa powder and salt in a large bowl.
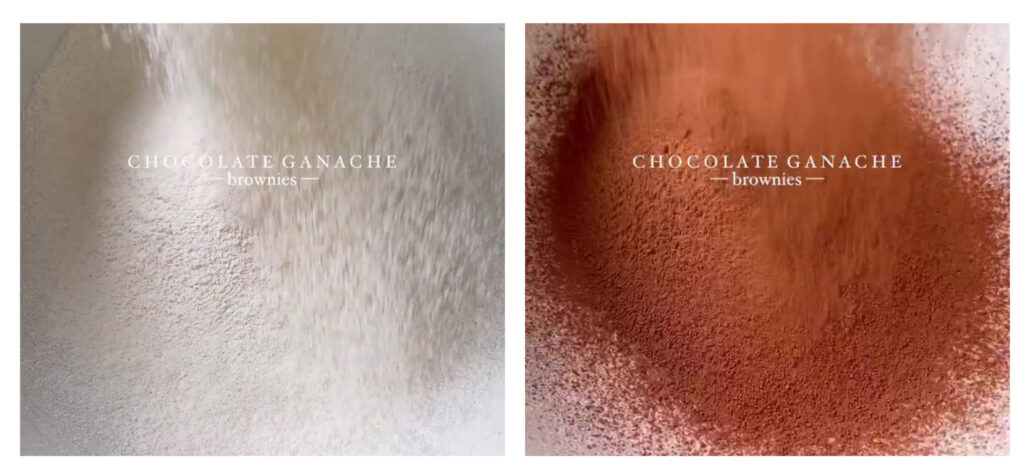
Pour wet ingredients into a large bowl with dry ingredients. Mix together.

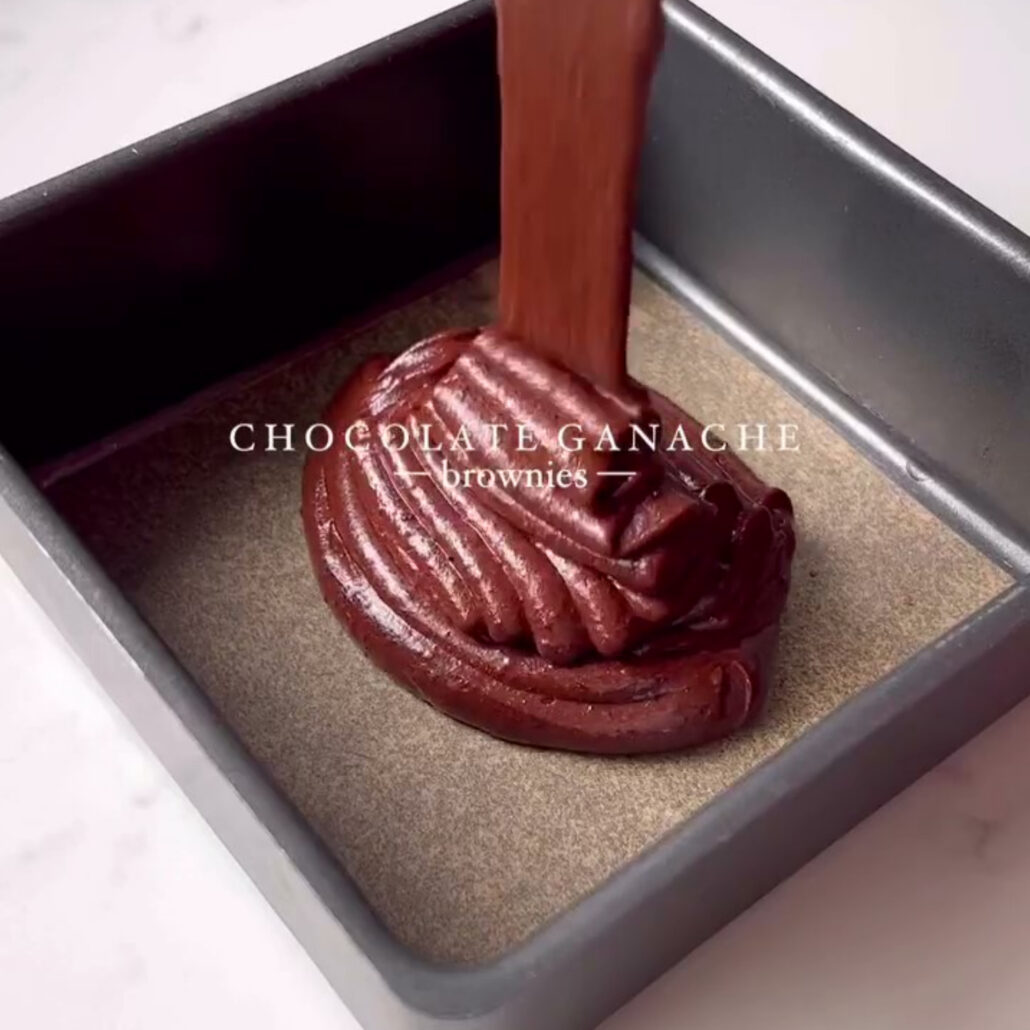
Pour the cake batter onto the greased baking tray. Cook for 20 minutes.
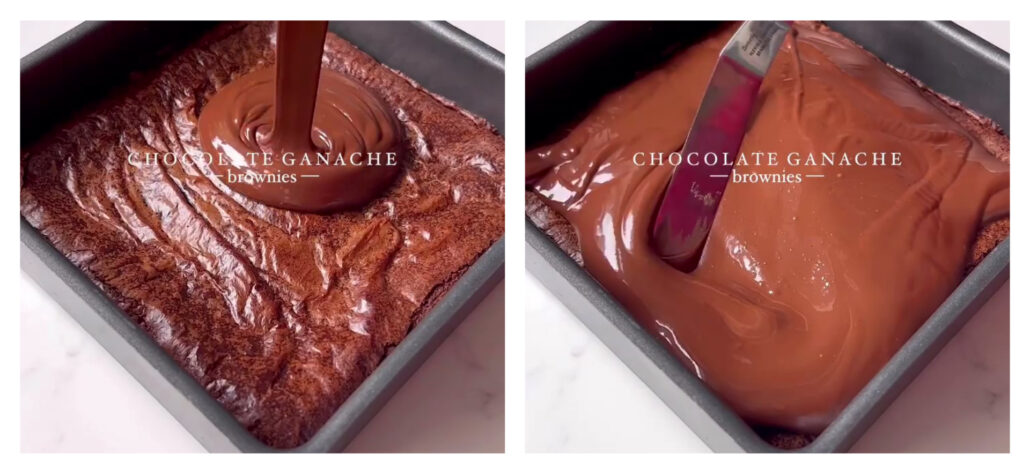
After 20 minutes, remove the brownies from the oven. You will see that the top of the cake is cracked, this is an indication that the chocolate cream will be carefully dispersed into the cake. Let the brownies cool completely. Melt the remaining chocolate in a saucepan and after it melts, remove the chocolate from the heat. Stir the creamy peanut butter into the chocolate until it's all combined to prepare the chocolate peanut ganache. After preparing the ganache, pour it over the cakes. Leave in the refrigerator for at least 1 hour to get an ideal consistency.
You can serve it by slicing after taking it out of the refrigerator.
Ingredients
Directions
Preheat the oven to 180°C / 356°F. Line your baking tray with parchment paper and grease the edges with a little butter. For this recipe, it's fine to use a small 15cm baking tray with a removable bottom. If your baking tray is larger, the cake slices will be thinner. If your tray is large, you can obtain the ideal thickness of cake by balancing the amount of ingredients.
Melt the butter in a saucepan over low heat. Once butter is melted, add the milk, sugar and vanilla extract and mix. Then add 150 g chocolate. Remove from heat and continue stirring until the chocolate is completely melted.
Mix flour, cocoa powder and salt in a large bowl.

Pour wet ingredients into a large bowl with dry ingredients. Mix together.

Pour the cake batter onto the greased baking tray. Cook for 20 minutes.

After 20 minutes, remove the brownies from the oven. You will see that the top of the cake is cracked, this is an indication that the chocolate cream will be carefully dispersed into the cake. Let the brownies cool completely. Melt the remaining chocolate in a saucepan and after it melts, remove the chocolate from the heat. Stir the creamy peanut butter into the chocolate until it's all combined to prepare the chocolate peanut ganache. After preparing the ganache, pour it over the cakes. Leave in the refrigerator for at least 1 hour to get an ideal consistency.

You can serve it by slicing after taking it out of the refrigerator.

Notes
Recipe Source: georginaelizat



Leave a Reply